> ## Documentation Index
> Fetch the complete documentation index at: https://docs.pre.dev/llms.txt
> Use this file to discover all available pages before exploring further.
# Quickstart
> Go from idea to shipped software in minutes with the Coding Agent.
This guide walks you through creating your first project on pre.dev and shipping it with autonomous agents.
## 1. Create your account
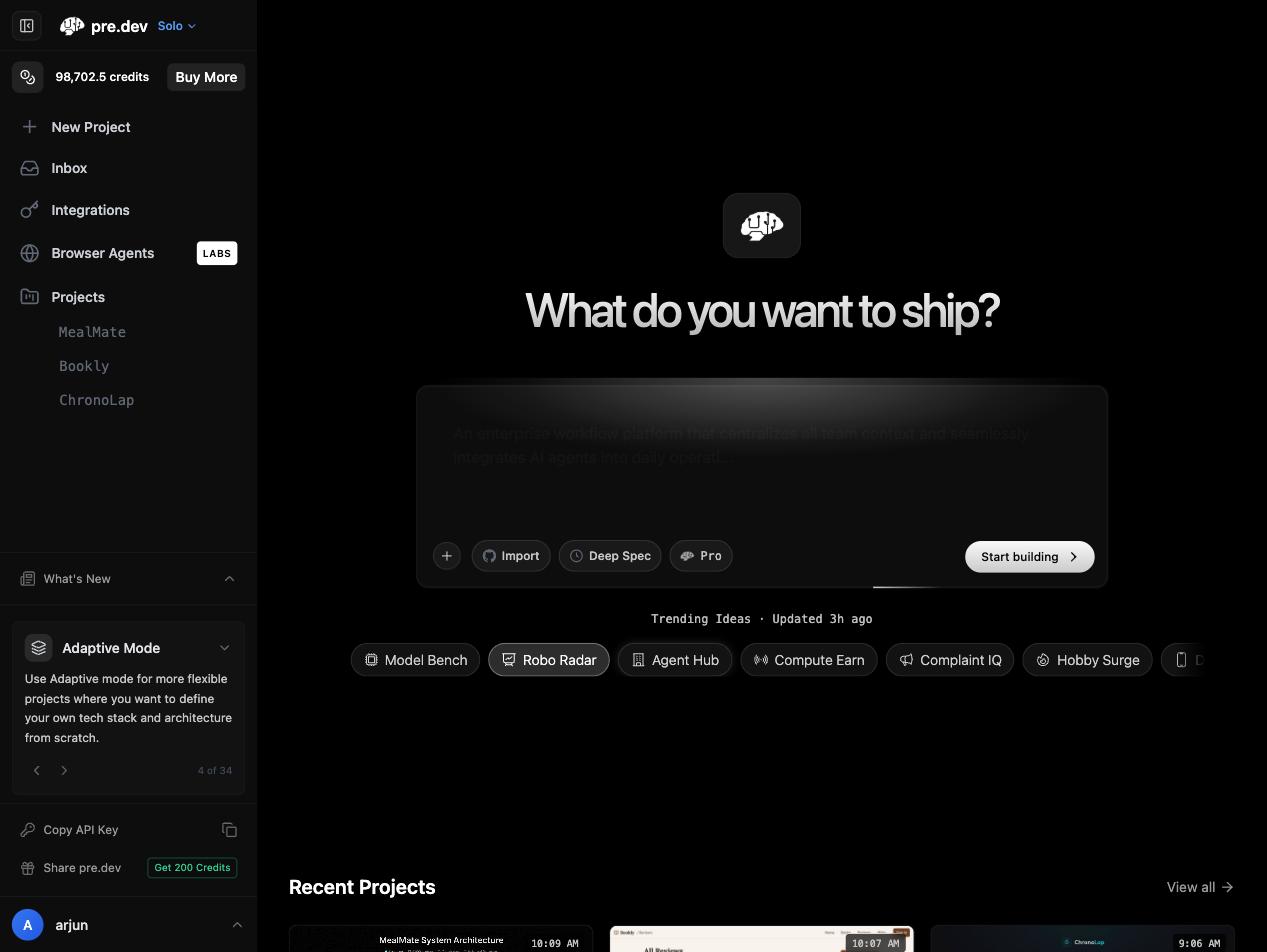 Create a free account at pre.dev to get started.
## 2. Start a new project
From the homepage, you have three ways to start:
| Mode | Description |
| ----------------------- | --------------------------------------------------------------- |
| **Full-Stack Template** | Start from a curated template with a pre-configured stack |
| **Adaptive** | Describe your idea and let pre.dev choose the best architecture |
| **Import** | Connect an existing GitHub repo and continue building on it |
Type your project idea into the input box. Be as descriptive as you want — the more context you give, the better the spec.
**Example:**
```
I would like to build a virtual museum tour platform with AR exhibits,
user-generated galleries, and a ticketing system for live events.
```
## 3. Choose your spec level
Before generating, choose between:
* **Fast Spec** (shown as **Plan** in the picker) — A fast, high-level spec with milestones and user stories (\~1 minute)
* **Deep Spec** — A comprehensive breakdown with granular subtasks and acceptance criteria (\~3-5 minutes)
See [Fast vs Deep Specs](/coding-agent/specifications/fast-vs-deep) for guidance on which to choose.
## 4. Review your specification
pre.dev generates a structured specification containing:
* **Technical architecture** and recommended stack
* **Milestones** — phased delivery plan
* **User stories** — feature requirements with acceptance criteria
* **Subtasks** — granular implementation steps (Deep Spec only)
* **Complexity estimates** per task
You can edit the spec, add/remove stories, or adjust the architecture before building.
## 5. Start building
Once you're happy with the spec, choose how pre.dev builds:
| Mode | How It Works |
| ---------------------- | --------------------------------------------------------------- |
| **Build Next Task** | Agents build one task at a time, you review each PR |
| **Build on Autopilot** | Agents work through the entire roadmap autonomously |
| **Chat** | Interactive mode — ask the agent questions or guide it manually |
Click **Build on Autopilot** to let agents ship the entire project, or **Build Next Task** for more control.
## 6. Review pull requests
Each completed task produces:
* A **feature branch** with the implementation
* A **pull request** for you to review
* **Passing acceptance criteria** (type checks, linting, browser verification)
The AI never pushes to main. You review and merge on your terms.
## 7. Ship
Once you're satisfied with the code, merge the PRs and deploy. Your project is live.
***
## What's next?
Learn when to use Autopilot vs. manual build modes.
Connect API keys, OAuth services, MCP servers, and skills.
Use pre.dev's planner as an API inside your own coding agent.
Scrape, automate, and extract from any web page.
Create a free account at pre.dev to get started.
## 2. Start a new project
From the homepage, you have three ways to start:
| Mode | Description |
| ----------------------- | --------------------------------------------------------------- |
| **Full-Stack Template** | Start from a curated template with a pre-configured stack |
| **Adaptive** | Describe your idea and let pre.dev choose the best architecture |
| **Import** | Connect an existing GitHub repo and continue building on it |
Type your project idea into the input box. Be as descriptive as you want — the more context you give, the better the spec.
**Example:**
```
I would like to build a virtual museum tour platform with AR exhibits,
user-generated galleries, and a ticketing system for live events.
```
## 3. Choose your spec level
Before generating, choose between:
* **Fast Spec** (shown as **Plan** in the picker) — A fast, high-level spec with milestones and user stories (\~1 minute)
* **Deep Spec** — A comprehensive breakdown with granular subtasks and acceptance criteria (\~3-5 minutes)
See [Fast vs Deep Specs](/coding-agent/specifications/fast-vs-deep) for guidance on which to choose.
## 4. Review your specification
pre.dev generates a structured specification containing:
* **Technical architecture** and recommended stack
* **Milestones** — phased delivery plan
* **User stories** — feature requirements with acceptance criteria
* **Subtasks** — granular implementation steps (Deep Spec only)
* **Complexity estimates** per task
You can edit the spec, add/remove stories, or adjust the architecture before building.
## 5. Start building
Once you're happy with the spec, choose how pre.dev builds:
| Mode | How It Works |
| ---------------------- | --------------------------------------------------------------- |
| **Build Next Task** | Agents build one task at a time, you review each PR |
| **Build on Autopilot** | Agents work through the entire roadmap autonomously |
| **Chat** | Interactive mode — ask the agent questions or guide it manually |
Click **Build on Autopilot** to let agents ship the entire project, or **Build Next Task** for more control.
## 6. Review pull requests
Each completed task produces:
* A **feature branch** with the implementation
* A **pull request** for you to review
* **Passing acceptance criteria** (type checks, linting, browser verification)
The AI never pushes to main. You review and merge on your terms.
## 7. Ship
Once you're satisfied with the code, merge the PRs and deploy. Your project is live.
***
## What's next?
Learn when to use Autopilot vs. manual build modes.
Connect API keys, OAuth services, MCP servers, and skills.
Use pre.dev's planner as an API inside your own coding agent.
Scrape, automate, and extract from any web page.